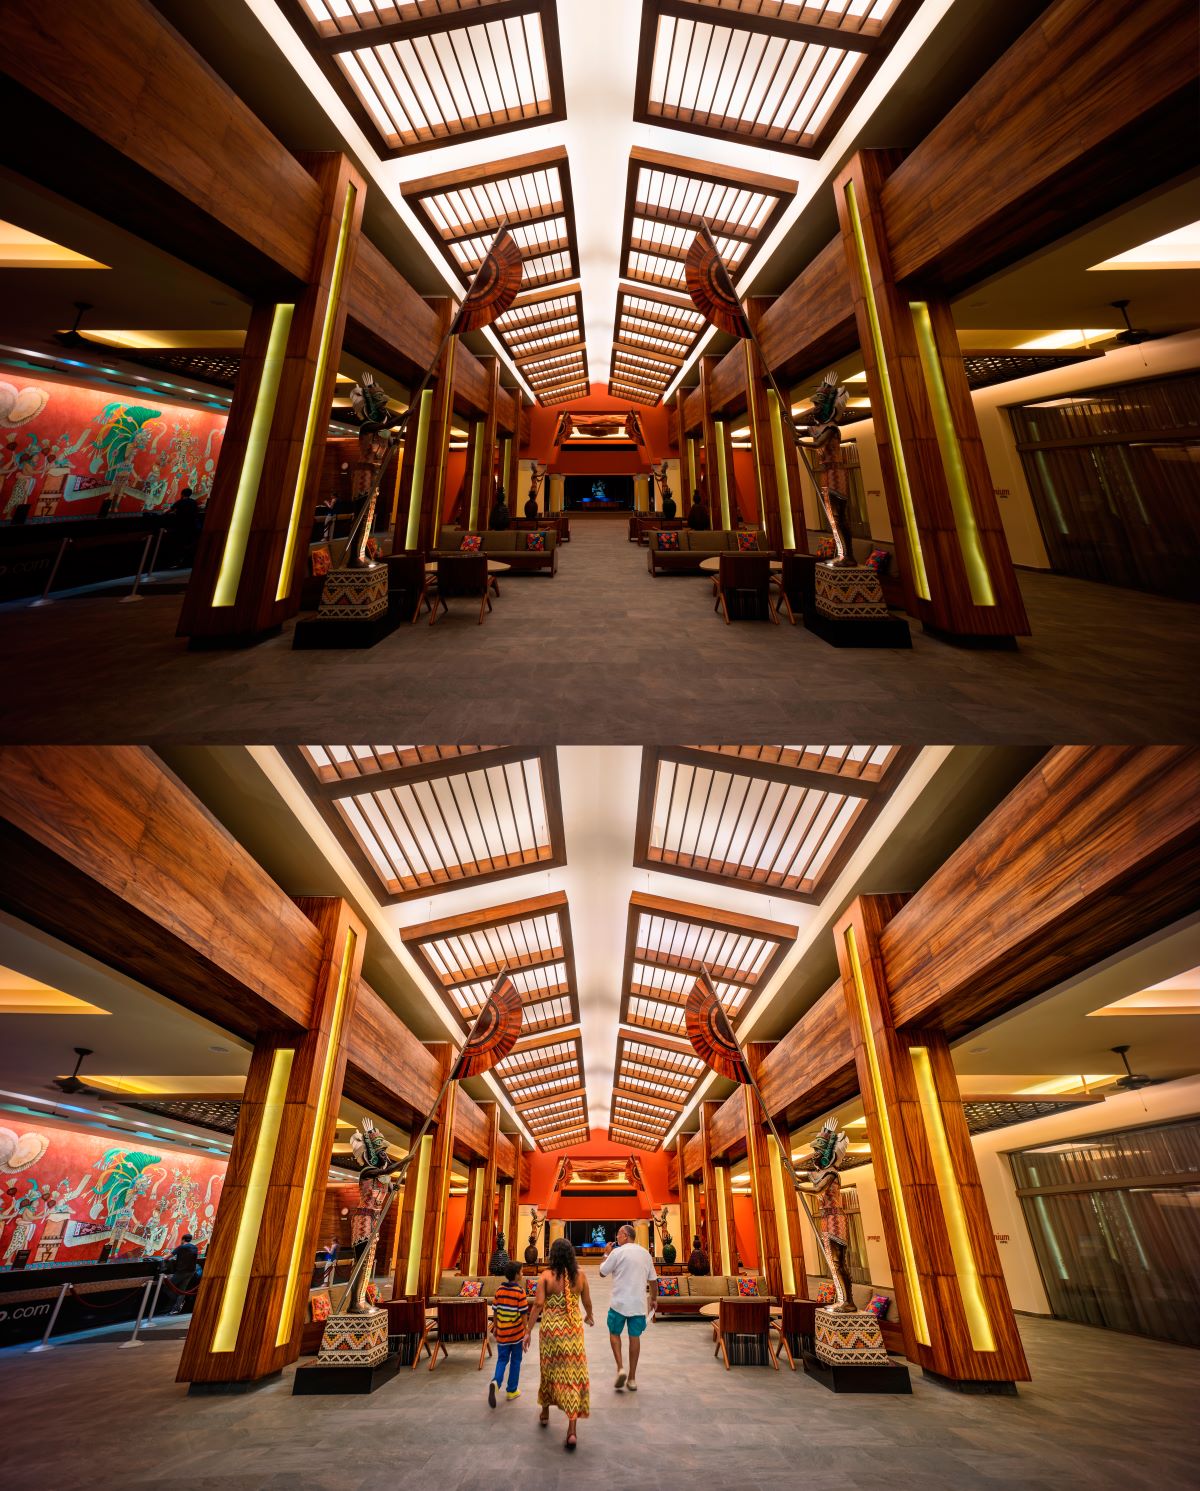
Whether you’re an amateur enthusiast or a seasoned pro looking to expand your skill set, delving into HDR photography can be both exhilarating and rewarding. In this beginner’s guide, we’ll explore the fundamentals of HDR photography and provide you with essential tips to kickstart your journey into this captivating realm.
1. Understanding HDR Photography
HDR photography involves capturing multiple exposures of the same scene at varying brightness levels and combining them to create an image with enhanced contrast and detail. By blending these exposures, HDR allows you to preserve details in both the shadows and highlights that might otherwise be lost in a single exposure.
2. Equipment You’ll Need
While you can experiment with HDR photography using a basic camera setup, having the right equipment can significantly enhance your results. Here’s what you’ll need:
Camera: Ideally, you’ll want a digital camera that offers manual exposure control and bracketing capabilities. Most DSLRs and mirrorless cameras are well-suited for HDR photography.
Tripod: Since HDR involves capturing multiple exposures of the same scene, a sturdy tripod is essential to ensure that your images align perfectly during post-processing.
HDR Software: To merge your bracketed exposures and fine-tune the final image, you’ll need HDR software. There are several options available, ranging from standalone programs to plugins for popular photo editing software.

3. Capturing HDR Images
Now that you have your equipment ready, let’s dive into the process of capturing HDR images:
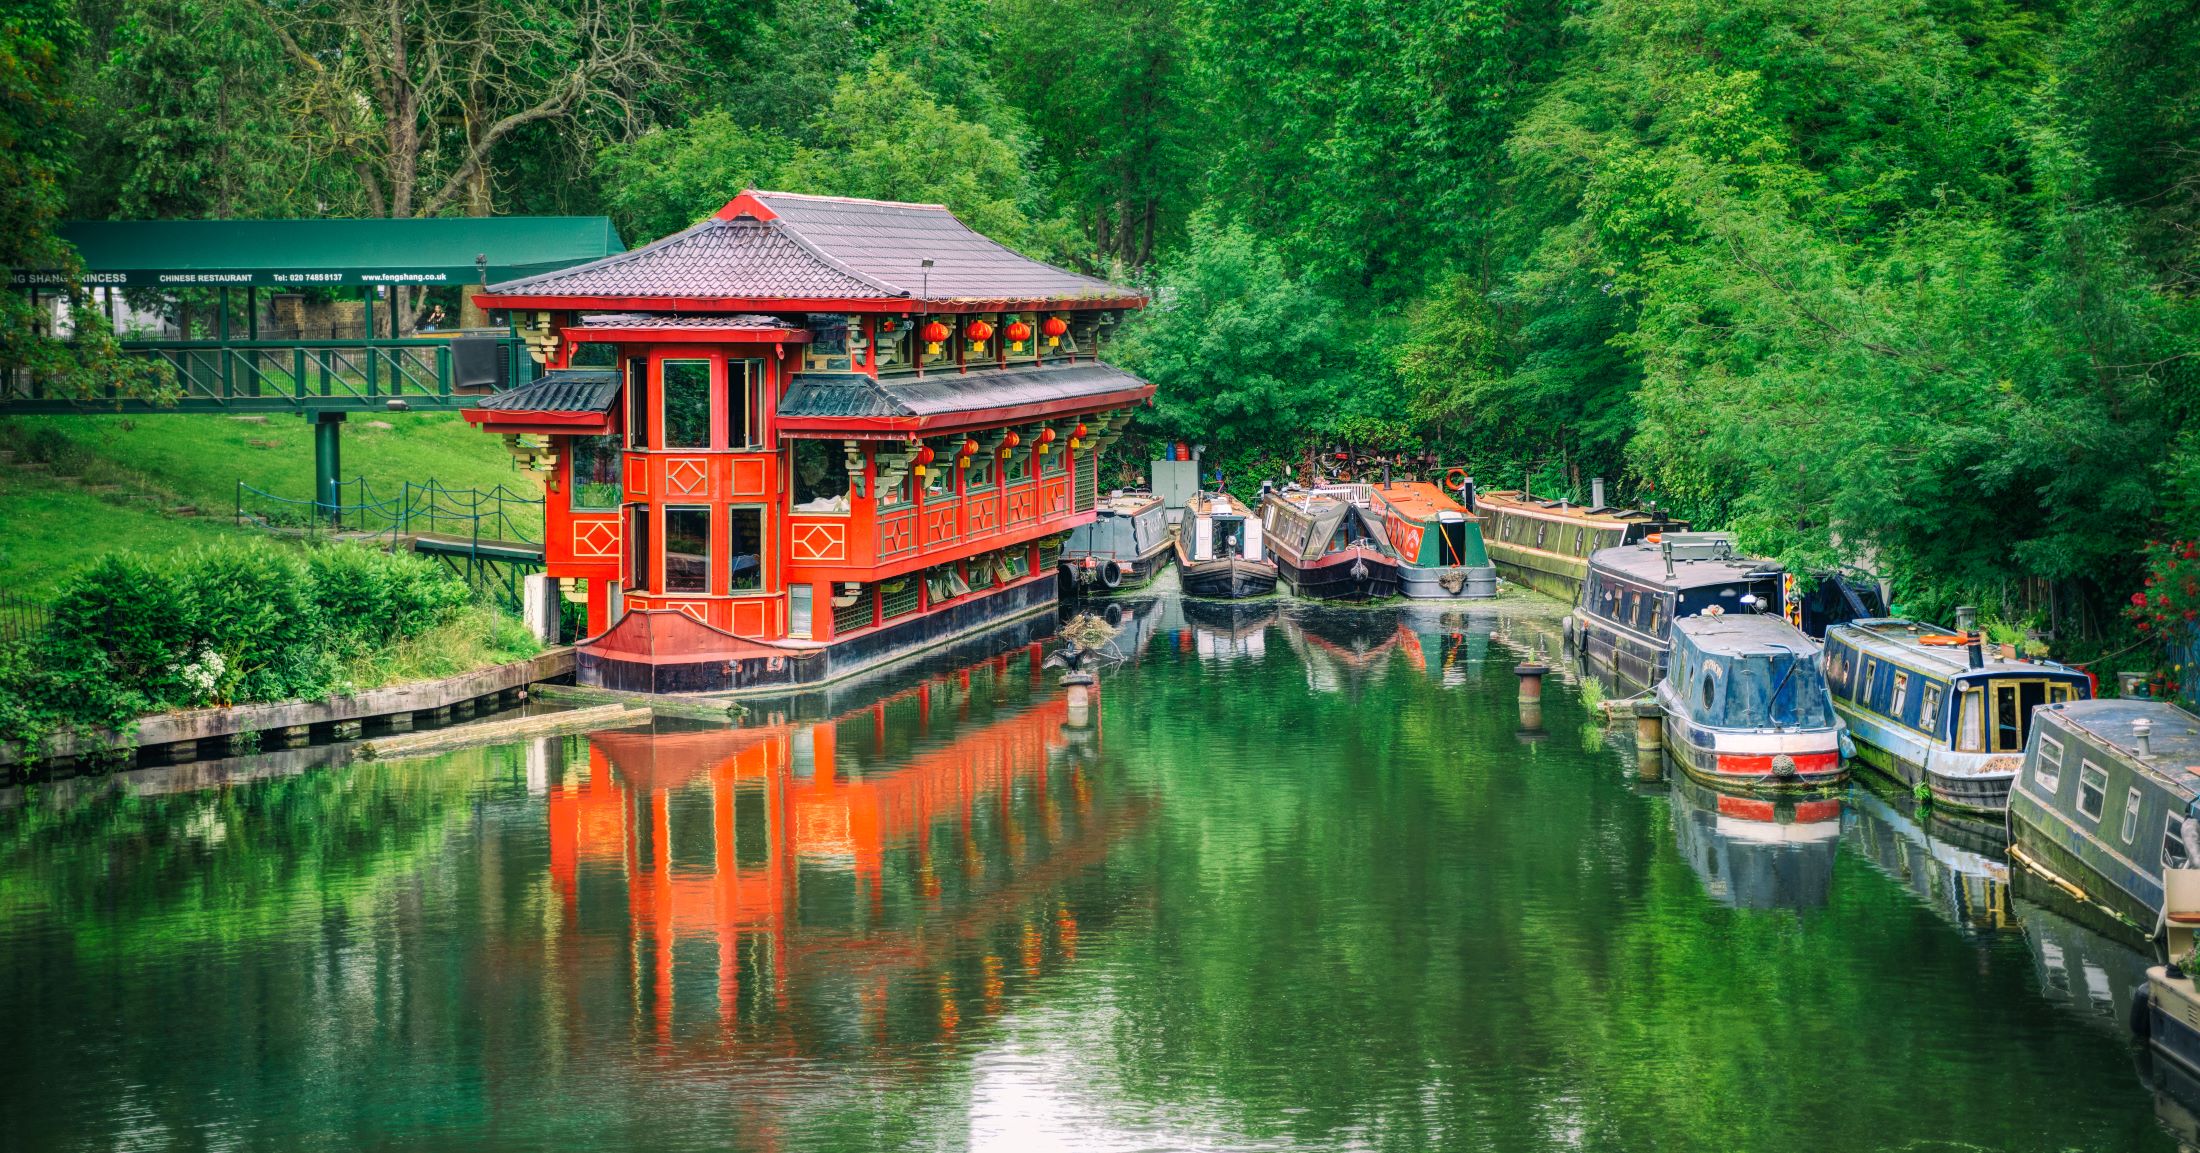
Choose Your Scene: Look for scenes with high contrast where details in both the shadows and highlights are important. Landscapes, cityscapes, and interiors with bright windows are excellent subjects for HDR photography.
Set Up Your Camera: Mount your camera on a tripod to ensure stability. Select the aperture and ISO settings based on your desired depth of field and noise considerations. Set your camera to bracketing mode to capture multiple exposures.
Capture Bracketed Exposures: Take a series of shots at different exposure levels, typically ranging from underexposed to overexposed. The number of exposures and the exposure increments will vary depending on the scene and your creative vision.
Post-Processing: Transfer your images to your computer and use HDR software to merge the bracketed exposures into a single HDR image. Fine-tune the tone mapping, contrast, and color to achieve the desired look while maintaining a natural appearance.
4. Tips for Success
Here are some additional tips to help you succeed in HDR photography:
Avoid Overprocessing: While HDR allows for creative freedom, resist the temptation to overprocess your images. Strive for a balance between enhancing details and maintaining a realistic look.
Experiment with Different Scenes: Don’t limit yourself to a specific type of scene. Experiment with different subjects and lighting conditions to explore the full potential of HDR photography.
Bracket Wisely: Pay attention to the dynamic range of your scene and adjust your bracketing settings accordingly. In high-contrast scenes, you may need to capture a wider range of exposures to ensure you have enough information to work with.
Practice Patience: HDR photography requires patience and attention to detail. Take your time to compose your shots, adjust your settings, and refine your post-processing techniques.
Conclusion
Embarking on your journey into HDR photography opens up a world of creative possibilities. By mastering the fundamentals and experimenting with different techniques, you can capture breathtaking images that showcase the beauty and complexity of the world around you.
So grab your camera, tripod, and enthusiasm, and start exploring the captivating realm of HDR photography today!

